

Welcome to Day 4 of Fancify Your Blog.
You can find Part 1 HERE.
You can find Part 2 HERE.
And Part 3 HERE.
Parts 1-3 walks you through making a beautiful blog header.
Today though, we're going to tackle labeling your sidebar links.
By now you've seen some of the blogs
that have sidebar headers, like these:
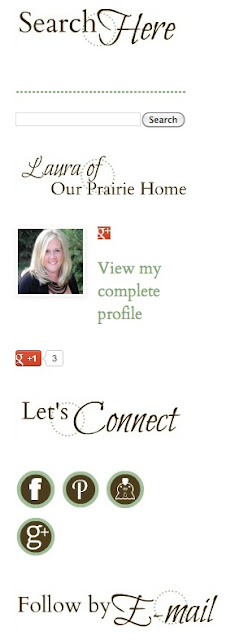
And you want one.
But you have no idea how to.
Yeah.
That was me...
For like a year.
It definitely gives a blog a facelift
and makes your sidebars stand out.
When I started to makeover my blog and got everything done, I was still dissatisfied with those stupid sidebar headers that were in the same text as the rest of my blog, like these on my old blog:
Pretty blah, huh?
Except for the large font, they didn't stand out at all.
So, I started to think on it.
That being said, who knows if this is the right way???
This is just how I figured out how to do my new ones.
And I'm going to make this as simple and painless as possible.
Yes, it's a lot of work.
It's tedious.
I was cross-eyed by the time I was done.
It was sooooooo worth it, though.
And it will be for you too. :)
First of all, you need to open up a Photobucket account.
It's FREE, so no worries!
Make yourself an account.
Photobucket will create the HTML codes for you
to put your pretty sidebar headers into your blog layout.
Next, its back into PicMonkey.
YAY for PicMonkey!
Click "Edit a Photo".
Remember your white image?
You'll need to upload it again.
If you don't have a solid white image,
you can right click on the one below and save it to your picture file on your computer.
| White Image |
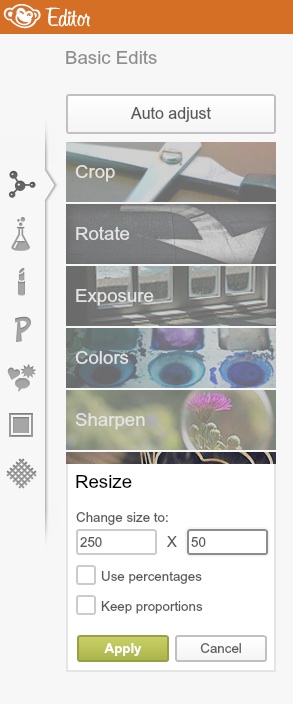
First we're going to change the image size.
Click "Resize".
Uncheck "Keep Proportions".
Enter "250x50".
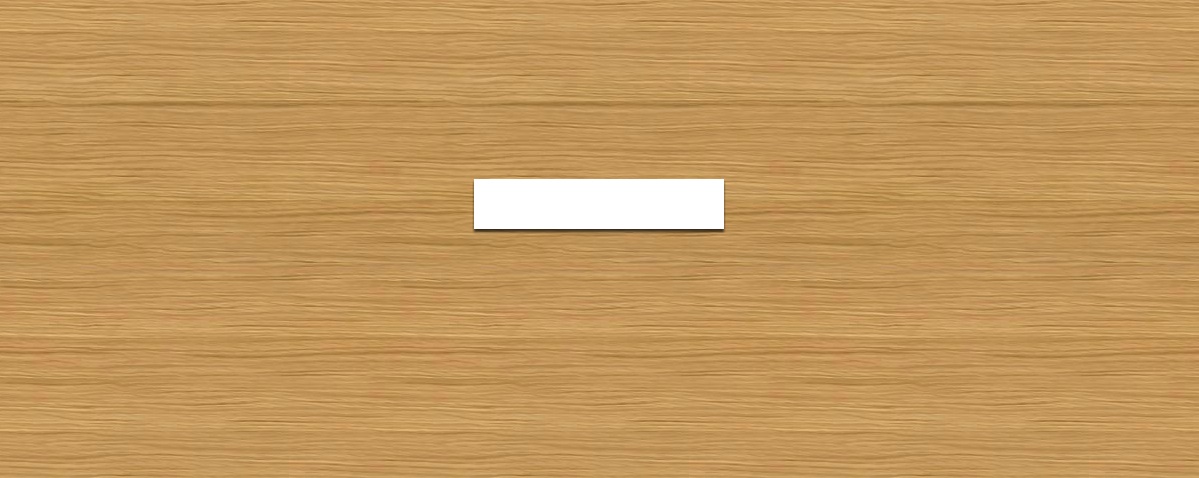
Your resized white image should look like this:
Now, this is where your style and preference
comes into play.
You're going to want to design sidebar labels that reflect the color, style, and personality of your blog.
To design your labels, you're going to use the same technique of adding text and shapes to a white image that I showed you in Fancify Your Blog: Part 1.
Use whatever kind of text you want.
Label your sidebar links whatever you want.
Use whatever kind of shapes you want.
The colors?
You want those to match your header or your blog text.
Think outside the box.
Just make sure your design fits inside the white image and you put your first word to the far left, otherwise when you upload the headers to your blog, they won't line up right.
I've designed mine to look like this:
This was achieved by using two separate text boxes
using two different fonts.
The little circle is in the "Labels" section
of the "Overlays" tab.
Be creative!
You're going to make one of these
for each section of your sidebar depending upon what links you have...
Search, Achived Posts, Most Viewed Posts, Subcribe, etc...
Next, you're going to "save" the label
you've created to your picture file on your computer.
After you've done that, open Photobucket in another window
After you log in, you're going to see a top of a page that looks like this:
Click "upload".
Upload the label you created in PicMonkey.
After the image is uploaded,
your screen will look like this:
See my little label in the bottom left corner?
You're going to do this for each of the labels you created.
Next, you're going to click the little blue box
in the upper left side corner that says, "View Album".
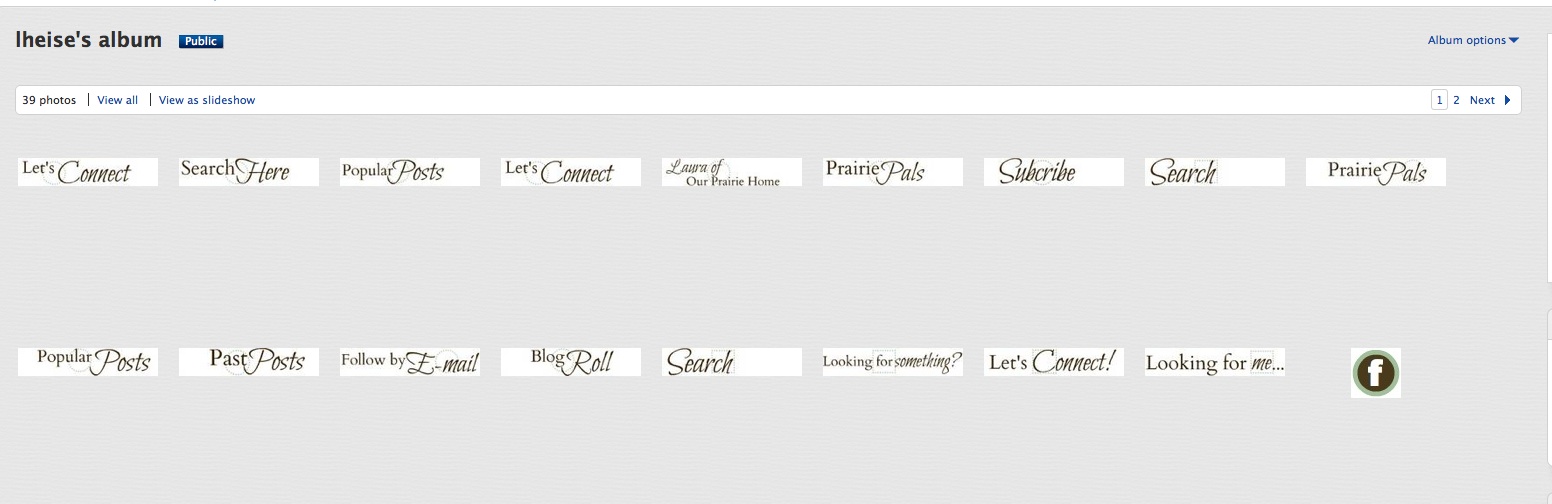
Here's my album with all my labels:
At this point, you need to go ahead and go into your
Blog Control Panel.
TIP: Open it in another window, while keeping your Photobucket page open. You're going to be bouncing back and forth between the two pages, so its easier to have another window open.
Go to your home page of your blog,
click "Design", click "Layout".
Go back to Photobucket.
If you hover over each image, a little box will pop up.
Here's a close up:
You are going to click on the little box next to
"HTML Code".
It will automatically copy the HTML code for you.
Go back to your blog "Layout" page.
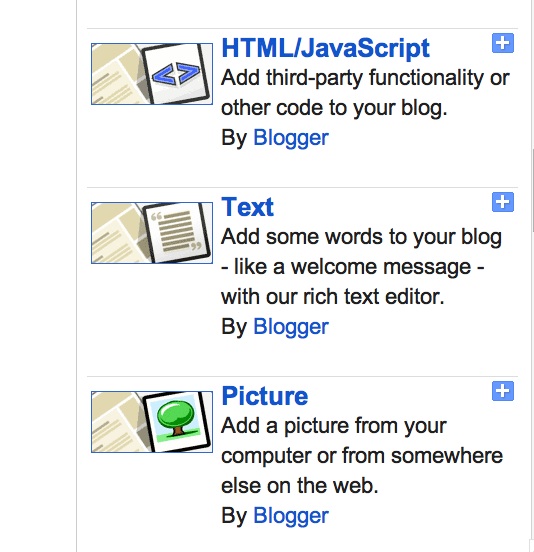
On your sidebar, click "Add a Gadget".
A little window will pop up.
Scroll down to "HTML Code/JavaScript".
Click on it.
Another little box will pop up.
For now, you're going to give it a title like,
"Let's Connect" or whatever the title of your label is.
Next, you're going to paste the HTML code that you copied from Photobucket into the space provided.
(Right click on your mouse. Select paste.)
It will look like this:
Click "Save".
Now, when you're back on your Layout Control Panel, this HTML code will be on the very top of your sidebar.
You have to click it and drag it
to the location you want.
This is why we gave it a title.
Once you upload all your labels that you made in PicMonkey,
it can get confusing, so they all need to be titled
according to what they are:
This is what my layout looked like after it was completely done:
As you can see, I have several that are just titled "HTML/JavaScript".
Title them ALL for now, so you don't get confused.
After you drag it to the spot ABOVE the sidebar link you are labeling, leave it.
Click "Save Arrangement."
Do every label you have the same way I posted above, making sure you title each label you make, so it doesn't get confusing.
And make sure you click "Save Arrangement"
after each time you upload a new sidebar link label.
Don't think you can just save the arrangement
when you're done uploading it all.
Err of the side of caution and save it each time, just in case Blogger freezes up, you lose power, whatever.
After you done transferring each HTML code from Photobucket,
you can check to see how it looks.
Click "Preview" to see what it looks like and
to make sure your labels are all in the right place.
At this point, you're almost done,
but not quite.
You might notice you have the labels you created, plus the title you gave the HTML Code, plus the titles you gave your original side links.
Here's how you fix that:
You need to go back into your blog layout
and edit each of the new labels you just created.
More editing???
Unfortunately, yes.
:P
Delete the titles in the "HTML Code/JavaScript" Gadget Box,
so you don't have triple titles above each side bar link.
Next, edit each of your actual link boxes, if you gave them a title, such as "Popular Posts," "Follow Me," etc.
Delete those titles too.
If the link requires you to have a title, you can add dashes, periods, or asterisks to fill the space. See my "Search" link in the image above to see what I'm talking about.
Click "Save Arrangement" after each edit.
Do you have a headache yet???
I know it's kind of confusing.
Understatement of the year, huh?
And, it's A LOT of work!
It will be totally worth it though, I promise!!
:)
If you need further clarification, you can e-mail me at the address provided under the "Contact" page at the top of my blog.
I'll do my best to answer
any questions you have.
If you think this was nuts, wait until tomorrow.
I'm going to teach you how to make these awesome buttons that will connect your blog page to your Facebook, Pinterest, Twitter, and Google+ accounts with one click from your blog.
You know, like these:
Okay... So there's you homework for tonight.
Make those labels!
And tomorrow we're going to make some cool connect buttons!
Dream Big,

So sweet of you to share all this info!! And it's a lot to put into a tutorial format. Bravo to you for your dedication!!
ReplyDeleteI agree w/ Shannon -- awesome information Laura! I am a learn-as-I-go blogger, so I may be clueless about this. No, strike that... I AM clueless. I'm just wondering if you could skip the PhotoBucket step and add these "pictures" (saved on desktop)as a photo GADGET on your sidebar?? Hmmm, perhaps the size wouldn't be right? Just curious...
ReplyDeleteIt works perfectly! Great, many thx!
ReplyDeleteIf you are going for finest contents like me, simply pay a visit this site daily for the reason that it provides feature contents, thanks
ReplyDeleteFeel free to surf to my blog post :: power precision lean muscle
I see that this post is almost two years old... Haha but I found it while googling how to do this!!! I have had sidebar labels made for my blog for ages, but I haven't known how to put them on correctly. I just tried this method, and it worked, but if I click on the label it takes me to my photobucket. I know they aren't really meant to be clicked on, but if someone accidentally clicks on the labels I don't want ANYTHING to pop up. Is there any way to do this? I would have emailed you, but I couldn't find the contact section you were talking about two years ago. ;) Thanks!
ReplyDeleteI just ran across this post and have spent all day working on labels. Thank you thank you thank you for compiling all of this information and posting it!
ReplyDeleteHey! Just wanted to let you know that I love this series you did. It helped me a ton as a new blogger to set up my site. I want to pin your content because I love it so much, but your images are either too big or too small (not compatible with Pinterest). From fellow blogger to fellow blogger, wanted to give you a heads up!
ReplyDelete