

I decided to tackle a project that would keep me awake,
but not require too much movement.
I attempted to start on Monday and then asked myself,
"Why in the world are you doing this when you don't feel like it?!"
So, I tossed everything down on the table,
Ugh.
Tuesday afternoon, I finally got a second wind,
so I started again.
And finished it.
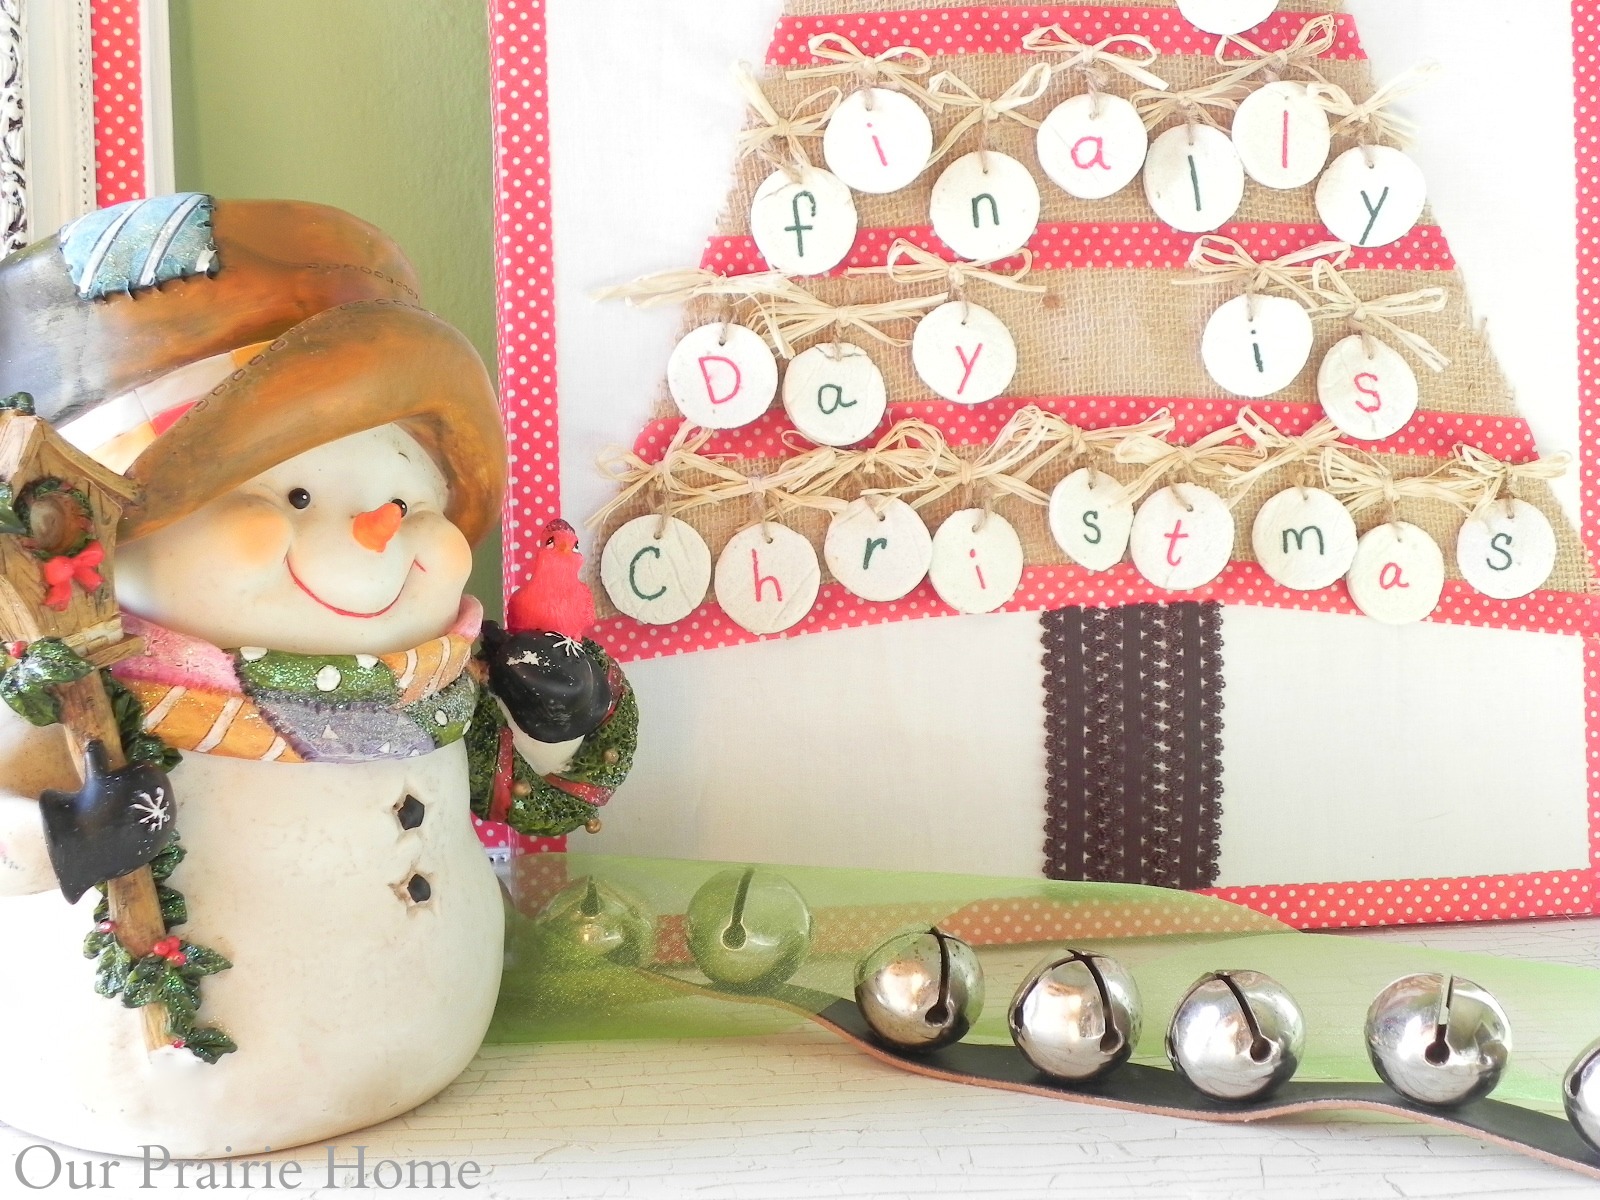
A Christmas Countdown Tree for our kiddos.
Unfortunately, because I wasn't sure the concept would work,
I didn't take pictures of the process.
But...
I'll walk you through it.
:D
What you'll need:
Foam/Wood Board
Piece of Fabric
Washi Tape
Burlap
Jute Twine
Raffia
Brown Ribbon/Lace/Elastic
Sharpie Markers in Red/Green
Glue Gun/Glue
Salt Dough Ornaments
Yep.
I'm still working with Salt Dough Ornaments.
LOL!
For these, I used the top of a water bottle
to cut them out into small circles.
Because I didn't want them to puff up,
I let them air dry for 3 days, instead of baking them.
The result is nice and flat.
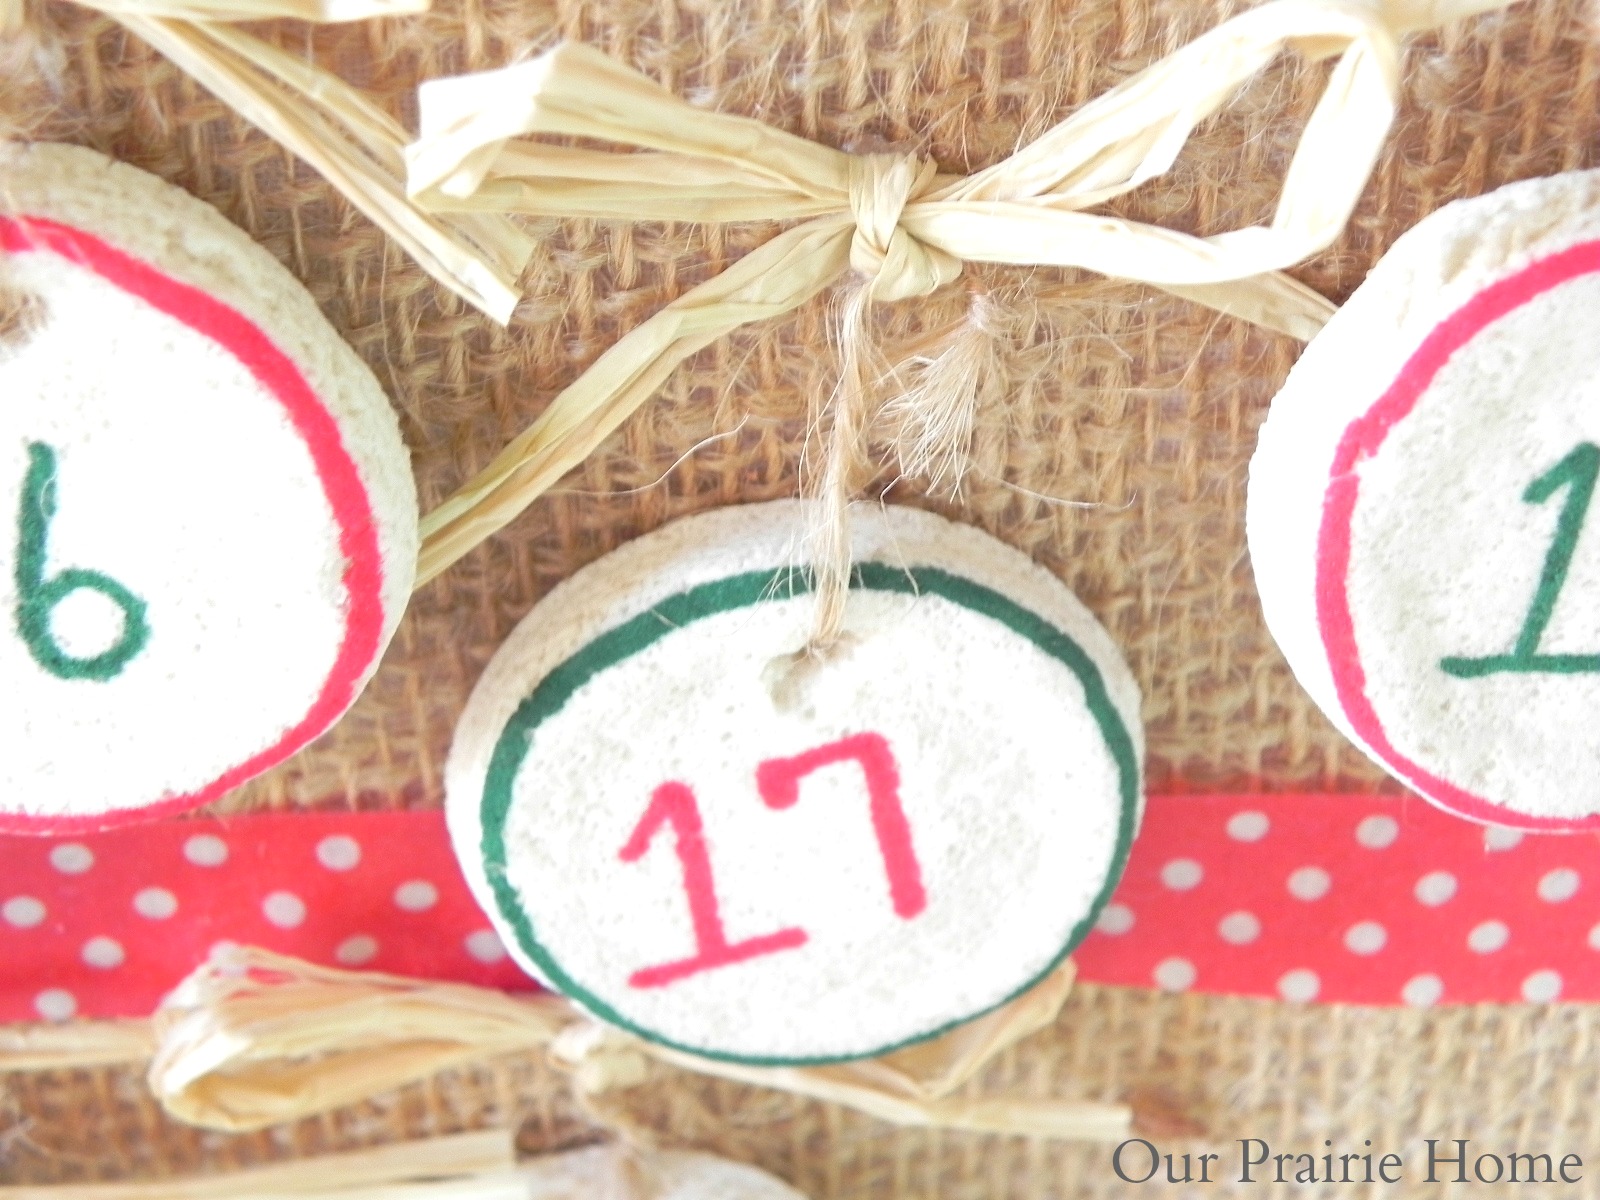
Then, I wrote 1-25 in alternating colors on one side
and outlined the edge with the opposite color.
Next, I flipped them over and wrote,
"Christmas Day is finally here."
One letter for each number.
Alternating the colors again.
Believe it or not, that was the first phrase that popped into my head
and it was exactly the right length of letters!
What are the odds of that?!
LOL!
Then, I threaded the jute twine through the small hole
I had punched in the top,
tied a loose loop and set them aside.
Next, I cut out burlap in the shape of a triangle.
I used the Washi tape for the "garland".
Then I grabbed a flat piece of board that I had laying around
and covered it with white fabric.
You can glue the white fabric to your board with your glue gun.
And then, glue your burlap triangle
to the center of the board.
Next, I took one of Eva's brown lace headbands
and made it into the "trunk"
by cutting it into three equal sections.
(That's called making the best of what you've got! LOL!)
Then, I fiddled with it for a while,
making sure the little salt dough ornaments had enough play
in the loop for them to be flipped over.
It looked a little plain,
so I dug around in my craft cabinet and found the raffia.
I just threaded the raffia through the loop,
knotted it, and then tied it into a bow.
Perfect!
Add a drop of glue to the knot of your raffia bow
to adhere it to the burlap.
I staggered the ornaments as I put them on,
so they weren't all clustered together and easier to turn over.
Because I had the phrase on the back of the ornaments,
I grouped them in sections according to each word.
The top I embellished with a star
(because as Noah will tell you EVERY Christmas tree
MUST have a star on top. He was disgusted with my
snowflake topper for the tree in the dining room. LOL!)
and a large raffia bow.
Each morning when they come downstairs,
Eva, Landon, or Noah flip an ornament over,
bringing us closer and closer to Christmas Day.
When Christmas morning gets here
and they flip the very last ornament over, the tree will read...
I finished the entire thing off with
putting the Washi tape around the edges and sides of the board.
I think it turned out pretty cute.
Of course, Scott couldn't figure out why
I started the sentence at the bottom.
You might think it's odd too,
but I wanted the sentence to begin on the 1st
and end on the 25th,
working it's way up to the top of the tree.
Might be backwards, but the kids get it.
Maybe my mind thinks like a child's does.
;)
Anyway...
It works.
It's cute.
And it prevents me from having to think of
how many days it is until Christmas,
when they begin asking a bazillion times a day.
(Which should start any day now.)
They can just go look at the countdown tree and count off the days.
Win, win!
Oh, how I wish I still had the excitement
of anticipating Christmas morning like they do.
But it sure is fun to relive it again through them!
Dream Big,


All right now you are just making me look bad !!! :). I don't know how you do it girl. So cute and maybe next year I won't have caught the flu and will be able to make all this fun stuff. It's adorable. Hugs girlie and glad you are feeling better
ReplyDeleteKarin
Cute idea and a great tutorial. Im sure your kids are loving it:)
ReplyDeleteThis is darling, Laura! Thanks for the instructions! My kids are a little too old for it but maybe someday I will have grandkids!!
ReplyDeleteHope you feel better.
XO,
Jane
You are more productive, with more kids AND being sick then I am with one and being well. Stop it would ya?
ReplyDeleteVery cute. Love the burlap! Following you. Best Christmas wishes, Linda
ReplyDeleteMy grands were playing with my calendar today and #1 said "look gramma there are 14 days till it's Christmas!". I smiled and did the all excited thing when really I was thinking AHHHHHHHHHHHHHH.
ReplyDeleteBliss