

 Hello, Ladies!
I have missed you this week!
I have finally decided that I cannot possibly be sick any longer and after two solid days of laying on the couch...
in the bed... on the couch... in the bed...
I am DONE.
Sickness, be gone!
I definitely feel better this morning,
so I decided I had better get moving.
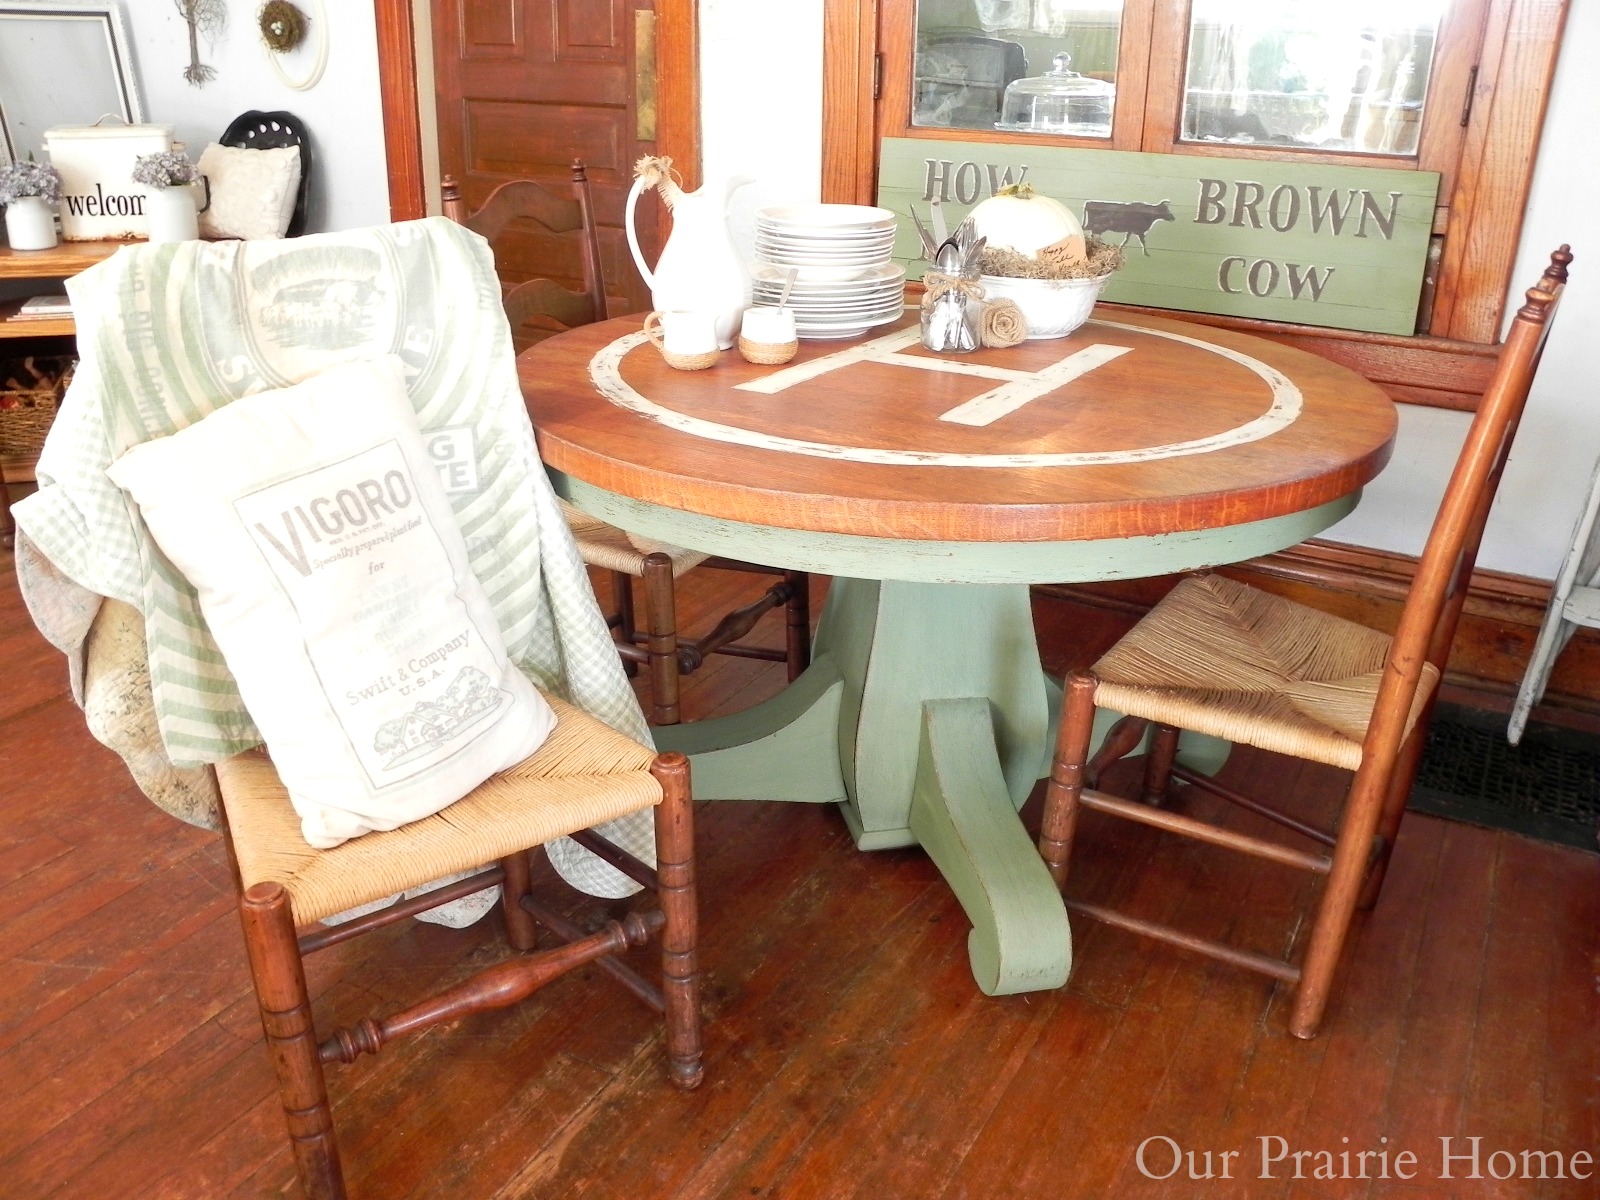
Last week, I revealed the pedestal table
that I have in the eat-in area in my living room.
Like most kids, my kiddos love to eat their after school snacks
while they watch TV.
I decided to put the table in the back end of the living room as a deterrent to eating on the couch - and possibly spilling something on the new white rug in my living room.
White Rug?
5 kids under the age of 13?
Am I crazy?
Possibly.
But so far it's lasted 4 weeks and not a spill on it.
(Although there was a close call with a cat having a kitten.)
Knock on wood.
Anyhoo...
One of the favorite things I like about
my oak pedestal table is the "H" on the top...
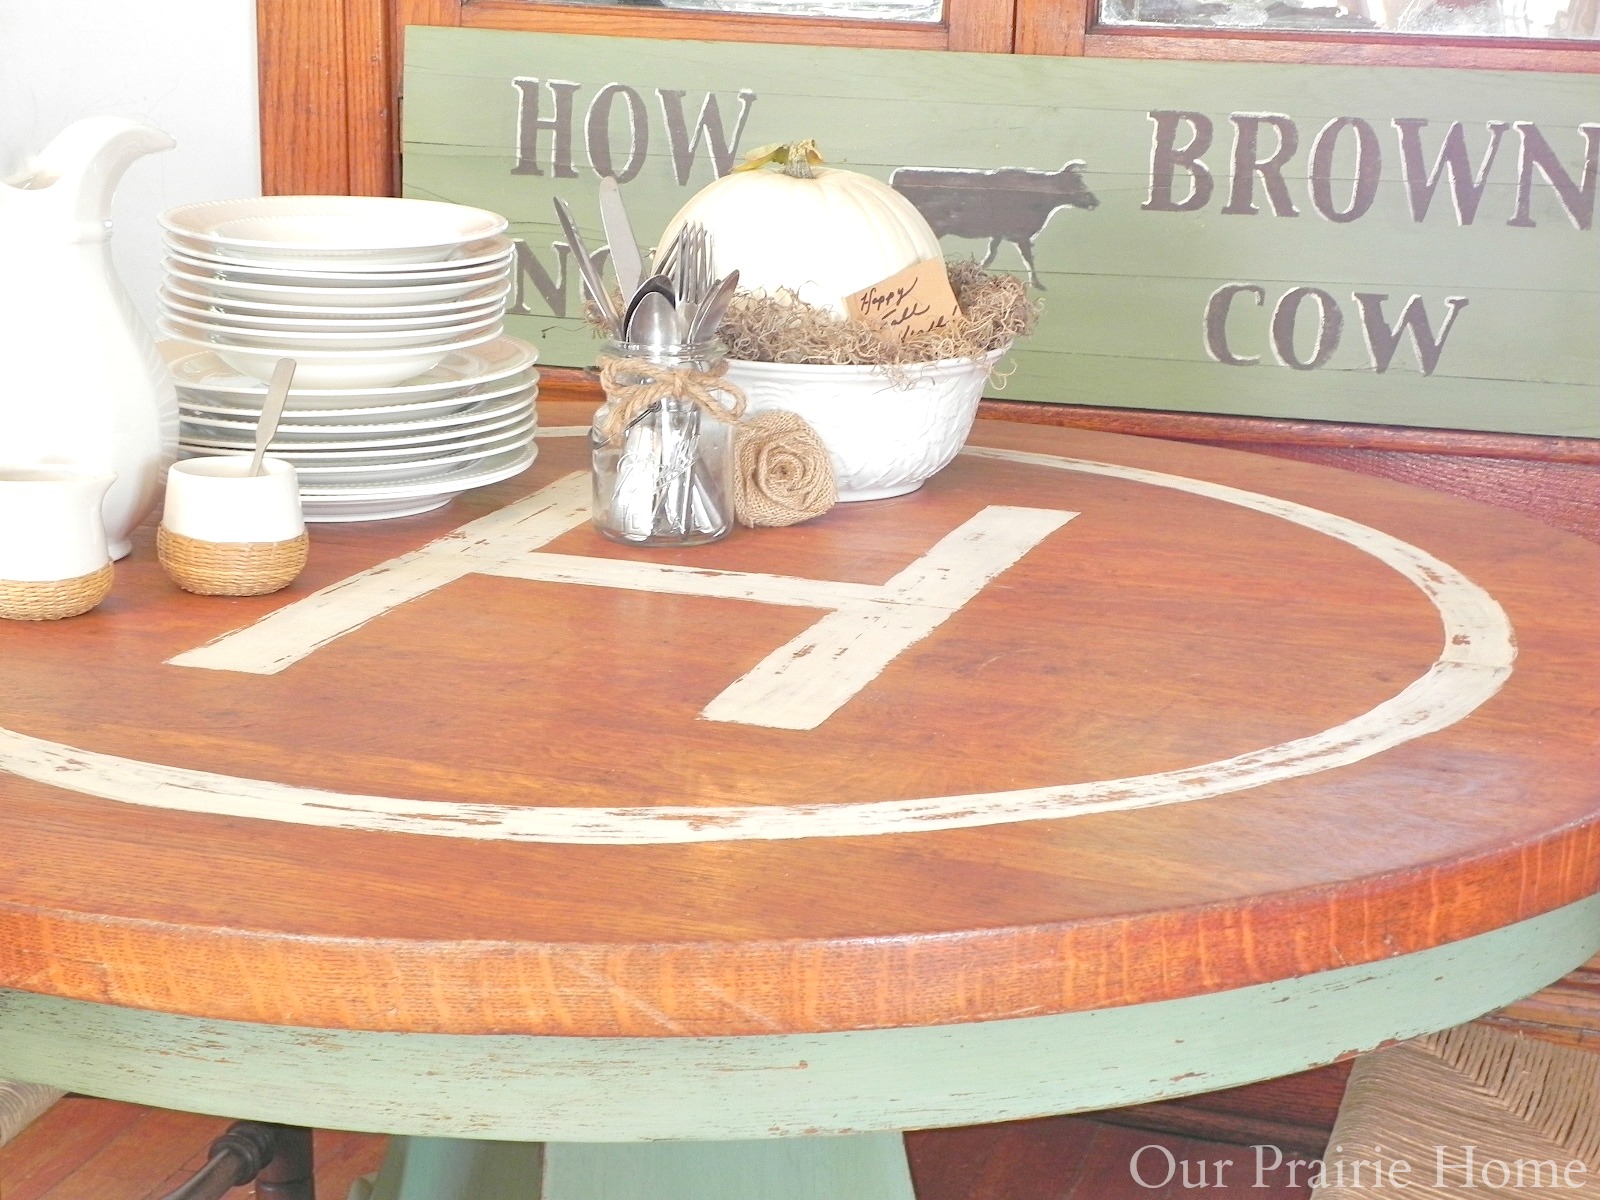
Even though my husband thinks it looks like a helicopter is going to land in our living room, I love how it personalizes the table.
I have to admit that once I had the idea,
I wasn't sure how to go about it.
Luckily, I have a handy husband who gave me the answer to getting a perfectly symmetrical circle.
And I'm going to tell you how...
You know, just in case you want a helicopter landing pad in your dining room.
HA!
First you're going to measure the width of the table
to find the center point.
After finding the center, you're going to
pound a small nail into the center of the table.
Luckily, my table has a seam there, so the resulting hole is not noticeable.
If your table doesn't have a seam and you're worried about putting a hole in it, use a small piece of tape.
Next, you're going to tie a piece of twine to the nail.
Then, tie a pencil to the other end:
Keeping the twine pulled tight, walk around the table, marking a line for the outside of the circle.
Next, shorten the twine, walk around the table,
and this marks the inside of the circle.
The shorter you make the twine, the thicker your circle will be.
Now you will have two lines
to paint between to form your circle.
To make your initial, you can do a couple of things:
You can either go out and buy a large stencil or if you're lucky enough to have a Cricut or Silhouette, you can use that to make a stencil.
If you're cheap like me, you'll need contact paper and tape.
Tape the contact paper to the table
in the center of the circle.
Draw out your initial on the backside of the contact paper.
Then, using an X-Acto knife, cut out your letter,
and re-tape it to the table.
Using the contact paper like a big stencil,
paint your initial.
I used La Craie "Magnolia"
but any chalk paint will work.
For whatever reason (probably because I was really into what I was doing), I did not get pictures of the next steps, but it's pretty straight forward.
Carefully remove the contact paper, while the paint is still wet.
Touch up any edges that might have smudged
or where the coverage isn't all that great.
Next, paint the circle that you drew.
And you're done.
For a crisp look, leave it as is.
If you want a more aged look,
you can distress it with a sanding block...
Distressing also disguises any "oops" in the painting
and you don't have to be as worried about perfectly crisp lines.
Since the base of the table was painted in
MMSMP "Lucketts Green",
I needed to distress the top to match the aged look of the base.
I am loving it!
And funnily enough, it's become the place
where we all squish together and have our family meals.
Using the initial of our last name really makes it feel personal.
No one will have one exactly like it.
And although I staged the top for pictures,
I ended up leaving the mason jar with the silverware in it,
so they're always there for the kids to grab.
It works out great!
We are loving this new addition to our space!
I wish I had done this years ago!
So, to sum it all up in pictures...
Easy as pie!
Dream Big,

Laura, love the table but even more, love spending a few minutes each day with you. You make me smile! Thank you!
ReplyDeleteAh HA...I wondering how you got it so perfect. I think that table is wonderful. Love the personalization and the color.
ReplyDeleteI LOVE this Laura! It turned out so cute. I've been looking back through your posts and can't find what color you used on the base of the table. I love it.
ReplyDeleteI just adore it, it turned out great. I would have never thought of it as a heliport pad. LOL I moved the link to my FB page for all to enjoy:)
ReplyDeleteJust a FYI....... I vote crazy.
ReplyDeleteBliss
Awesome!! Now I wonder How I'd put the Initials "McC" on our table - not as easy as "H!!" : )
ReplyDeleteAfter seeing this I ordered MMSMP "Lucketts Green" milk paint. It arrived today and it's a good thing there is only enough to make a quart because I could very well paint everything in my house this color. I love it! I am also in love the the how now brown cow and am looking for the perfect piece of reclaimed wood to make one myself. Thanks for inspiring me! We bought our 100 year old dream farmhouse 3 years ago. I have been overwhelmed and haven't done anything to make it the cozy, cottagey home I dreamed of for years.
ReplyDelete